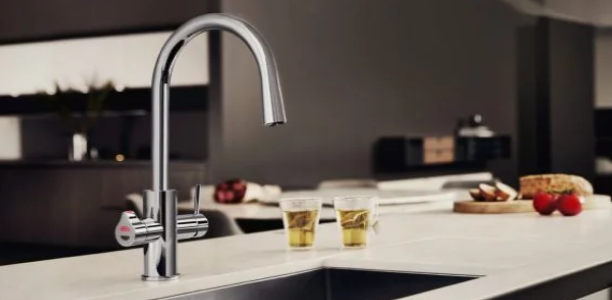

Whether it’s boiling only, boiling and chilled (or ambient), a 3 in 1 type of kitchen tap or even with a sparkling water feature, if you’re a reasonably competent DIY type of person, it needn’t be too daunting.
All appliances of this nature come with very good and in-depth installation instructions. It is vital that these are followed to the letter to ensure there are no issues with warranty in the future.
Zip and Billi offer a free commissioning service following your installation, and it’s a good idea to take them up on this as it officially starts the warranty off nicely.
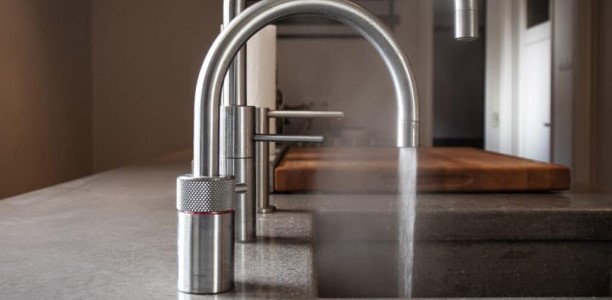
There may be aspects of an installation that need to be dealt with by others, such as cutting or drilling granite or stone worktops. Also, perhaps the installation of an electrical connection if there isn’t a usable one nearby will need to be done by an electrician. Other than that it’s generally just a matter of siting the under-sink unit correctly, ensuring you have enough space (including ventilation space where applicable), and drilling and cutting out the worktop to fit the tap and maybe a drip tray. Following that, there’s the connection of the tubes and leads between the under sink unit and the tap, connecting the water supply and plugging in or connecting to the electrical spur.
All in all, we would say that you could save yourself £300 or more by getting stuck in if you’re confident and competent enough. That could pay for a lot of replacement filters or even cover additional items or an upgrade!